Define what the clearance visit is evaluating
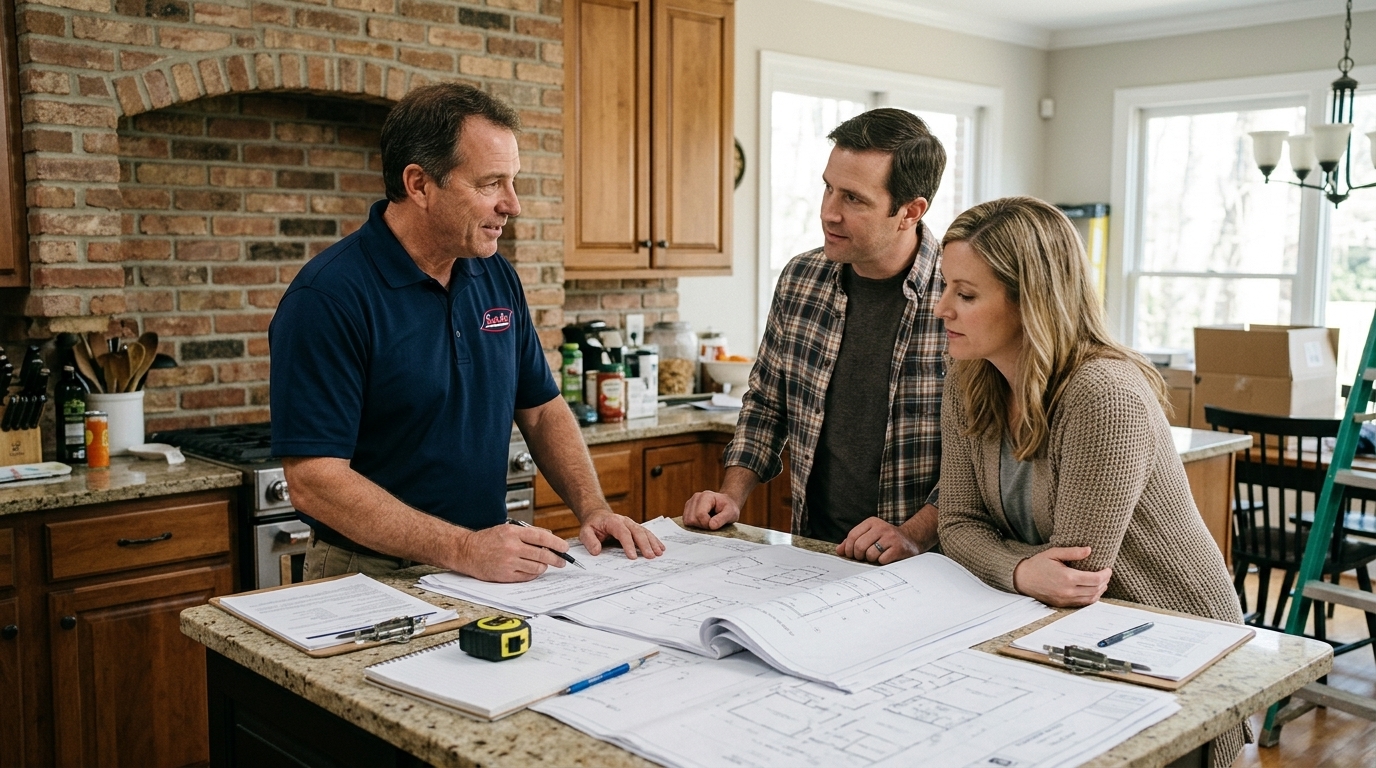
Start with the remediation scope and the original findings. Which rooms and materials were involved? What corrective work was specified? Was a moisture source identified, and who was responsible for repairing it?
The verification scope should refer to those areas and objectives. A limited inspection of one work area should not later be presented as a clearance of the entire property. If the project expanded during remediation, update the records before the verification visit.
Ask who establishes the acceptance criteria and how the result will be reported. The word “clearance” can be used loosely; the actual methods, conditions, and limitations need to be understood in writing.
Distinguish visual assessment from laboratory testing
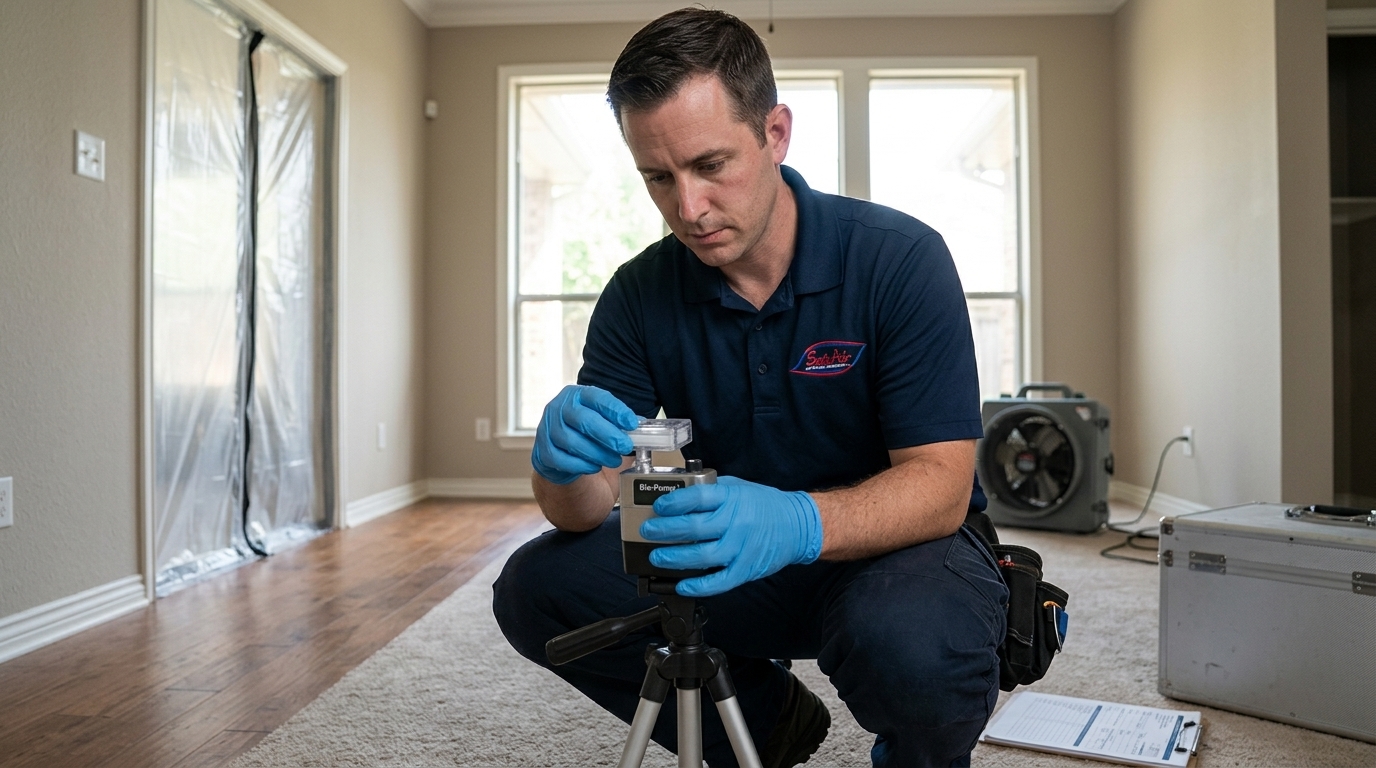
A post-remediation assessment can involve visual observations, review of moisture conditions, and other project-appropriate checks. Sampling may be included when it serves the defined scope, but a laboratory report is not the whole evaluation.
The EPA’s mold sampling guidance explains that there are no federal airborne mold limits. A result should therefore not be reduced to a universal legal pass/fail threshold that does not exist.
Ask the assessor to explain how any samples will be selected and interpreted with the observed conditions. The report should make clear what conclusions are supported and what remains outside the assessment.
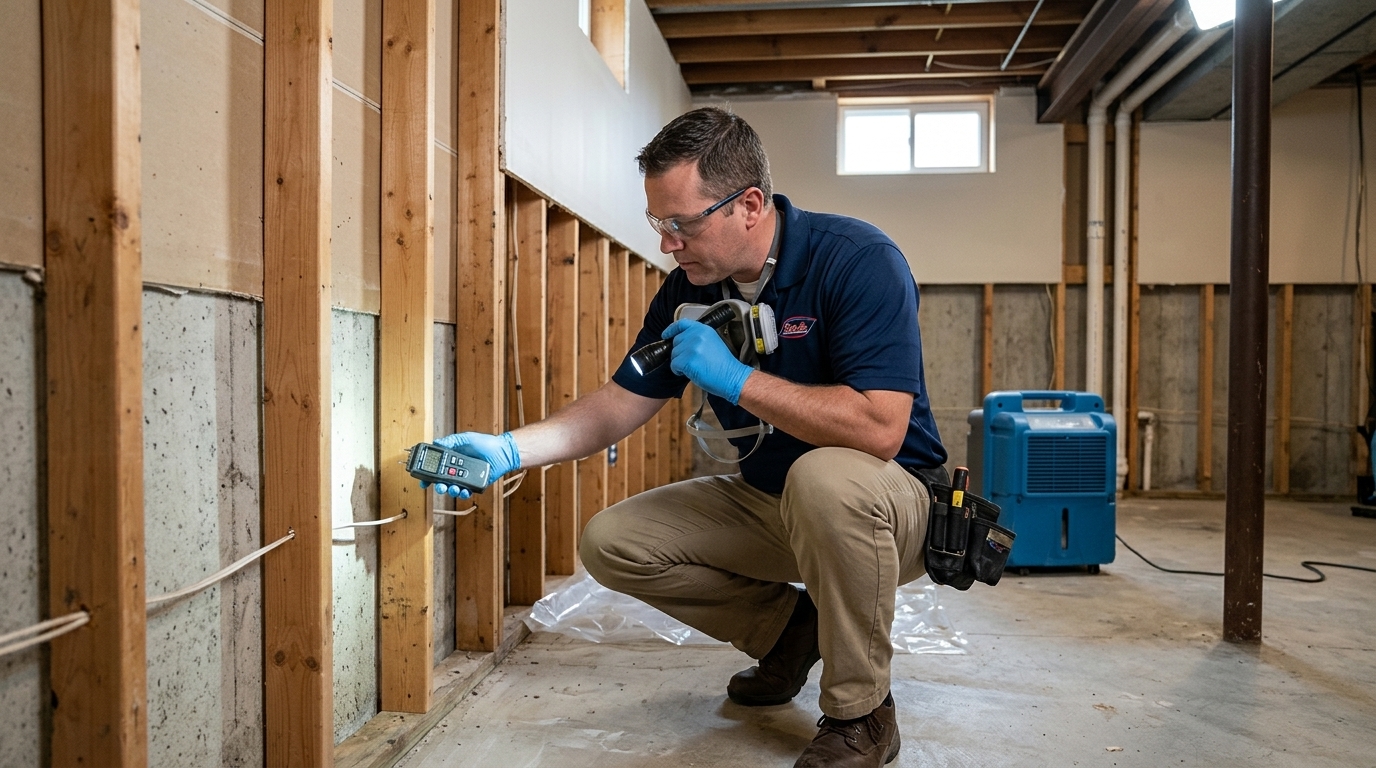
Plan access and the on-site contact
Confirm that the assessor can enter the relevant rooms and inspect the areas covered by the scope. Provide keys or arrange an escort when necessary. Explain any site restrictions before the appointment.
Choose a contact who can answer questions about the work and authorize any agreed scope changes. The person who books the visit may not know which wall sections were opened or which materials were replaced; make the relevant project information available.
For a managed property, coordinate occupant notices and contractor schedules. The assessor should not arrive to find finish installers covering the area that was supposed to remain visible.
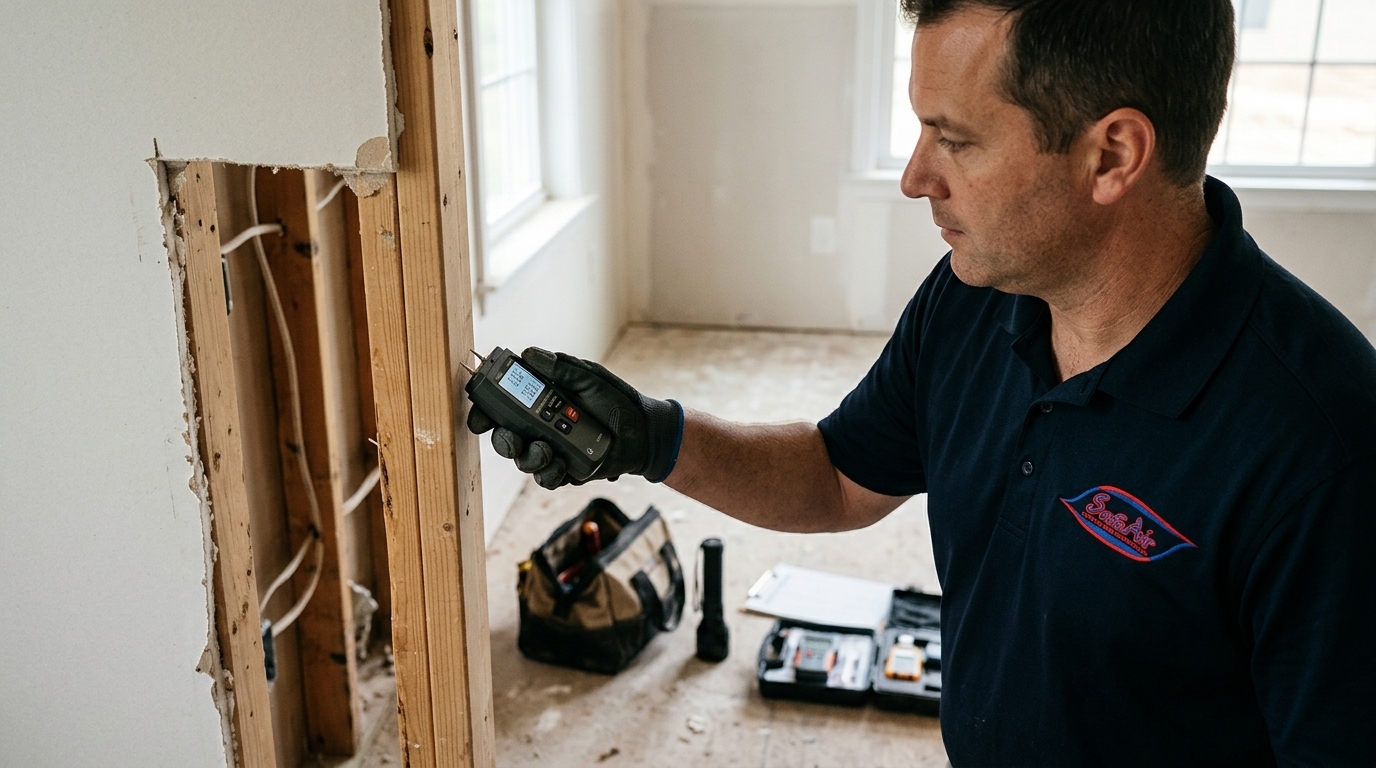
Understand what happens if concerns remain
A report may identify remaining debris, moisture concerns, inaccessible areas, or other issues relevant to the agreed criteria. Ask for the location and the recommended next step rather than treating an unfavorable result as a vague rejection of the entire project.
Clarify who will perform any additional work and who will determine whether another visit is needed. A repeat assessment should have a defined scope and cost, not simply be assumed to be included indefinitely.
Do not conceal, paint over, or close an unresolved condition to keep reconstruction on schedule. Resolving it while the area is accessible is generally a clearer process than reopening new finishes later.
Read the limitations before calling the project complete
Every assessment occurs at a particular time under particular conditions. It may address specified accessible areas, not hidden materials throughout the property. Future leaks or moisture changes can create new conditions after the visit.
Read the scope and limitations alongside the conclusion. Ask for clarification if the language does not match what you thought you purchased. “No concern observed in the evaluated area” should not be translated into a guarantee about every room or a person’s health.
The EPA’s commercial-building remediation guidance discusses evaluating completion in relation to moisture correction and remaining evidence of the problem. Use the project-specific assessment to guide the next step rather than treating one number as the entire decision.